

To set up your new Toucan camera, please make sure it's successfully installed, and that the status LED on the bottom left-hand side of your Toucan is flashing red.
This flashing red status LED means that your Toucan is ready to be paired to your Kuna account! If your Toucan has not been installed yet, please refer to the Toucan Surveillance Kit installation guide video here.
Step 1 - Download the Kuna App
First, download the free Kuna app from the Apple App Store (for iOS) or the Google Play Store (for Android).
You will need to create an account specifically for the Kuna app, even if you have created a separate account for the online store. If you already have a Kuna app account, you can skip to Step 3.
Step 2 - Create an Account
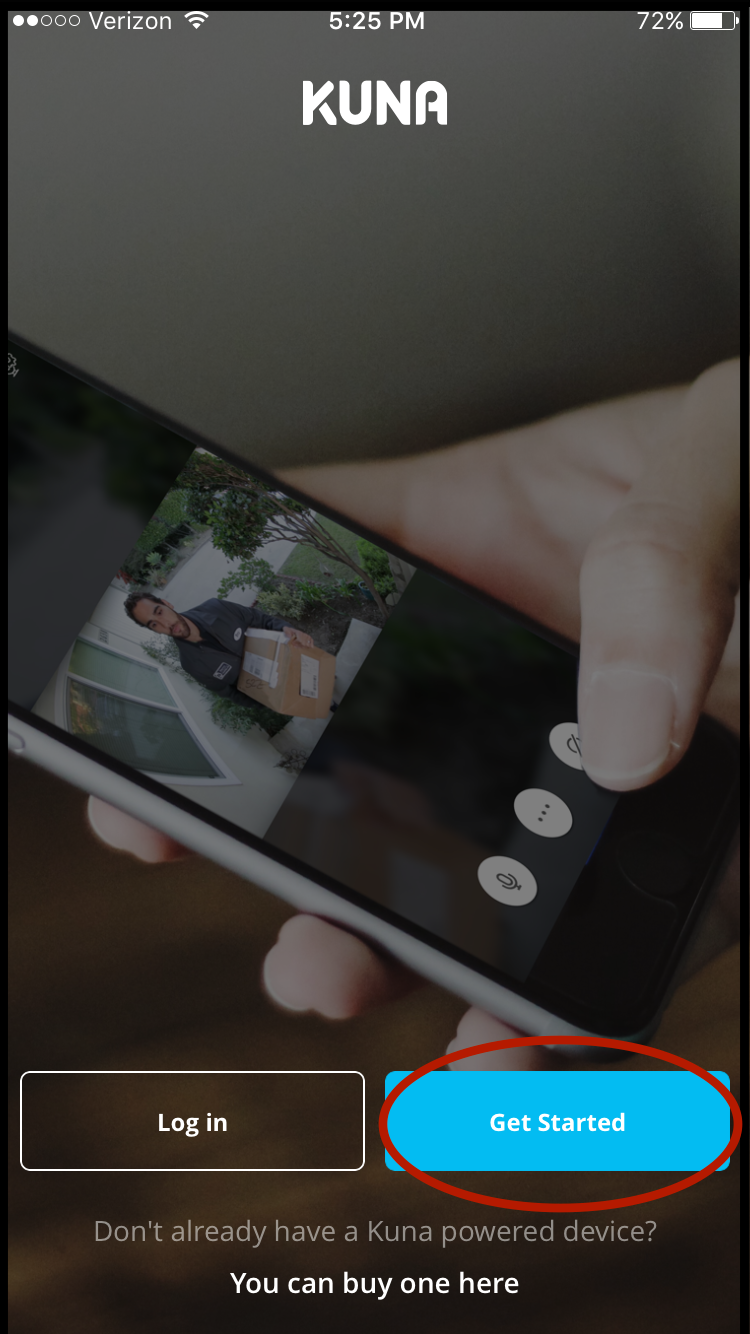
When you open the Kuna app for the first time, you will see the login page. Click the "Get Started" button to create a new Kuna account.
Once you click Get Started, you'll be prompted to add your name, your email address, and to choose a password for your Kuna account.

As soon as you have re-entered your password, click "Next" on the top right-hand corner of the screen. Then confirm that you would like to use that email address for your Kuna account, and you'll be all set. Your Kuna account has now been created, and you can skip to Step 4!
Step 3 - Log In To Your Kuna Account
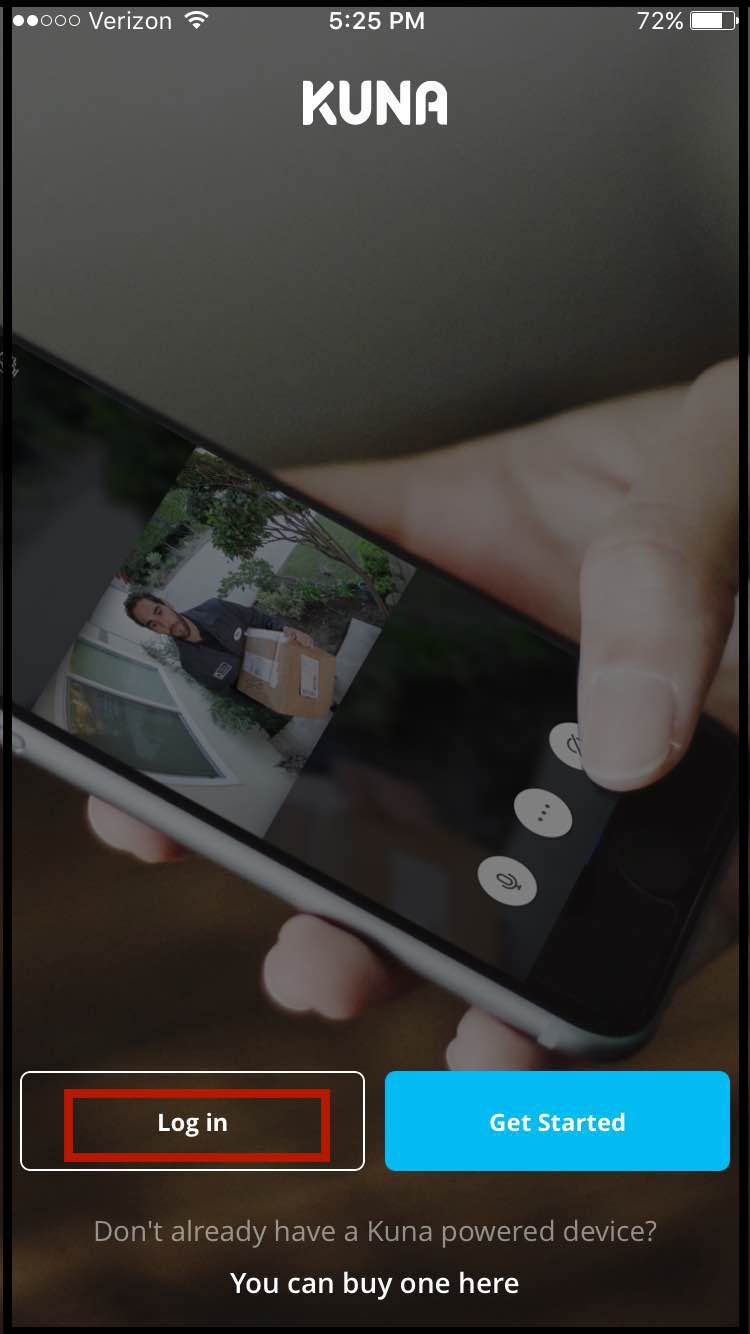
If you already have an account, you will log into the Kuna app using your Kuna account email and password. First, click the Log In button on the Welcome screen.
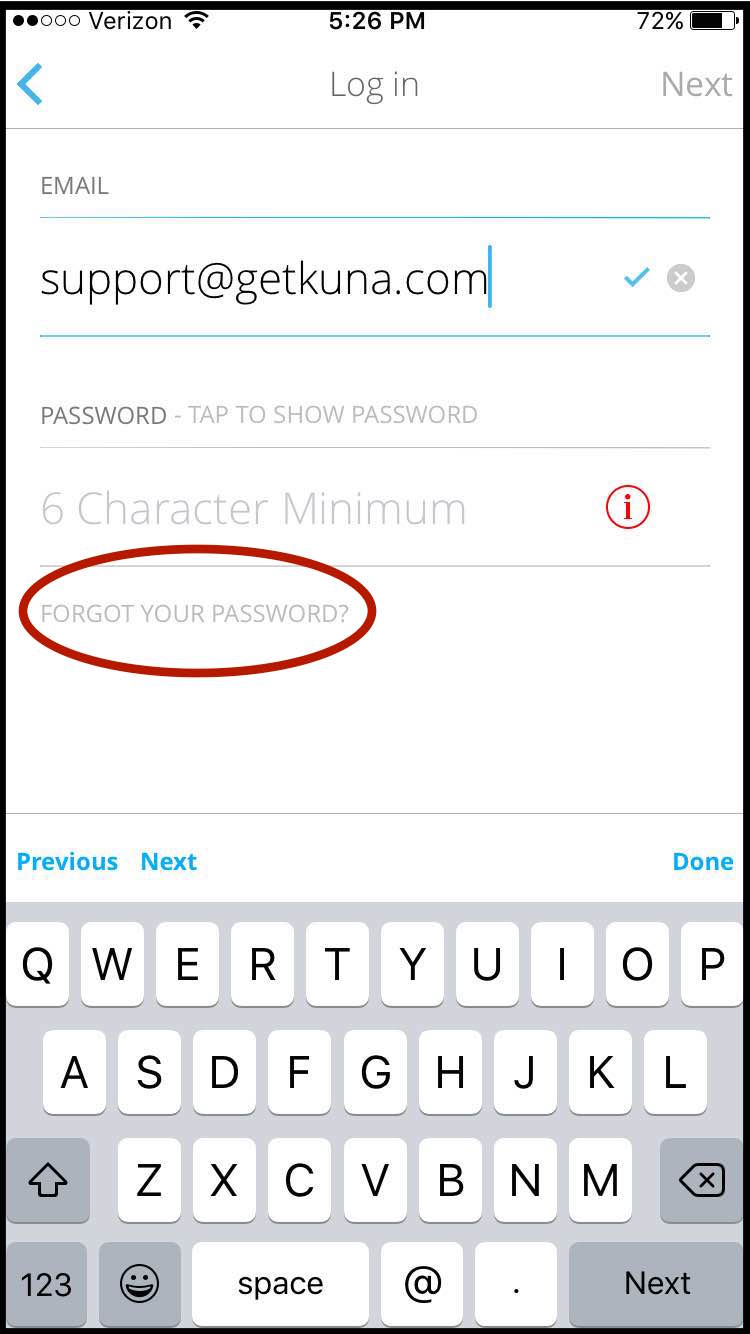
Once you click Log In, you'll be prompted to log in using your Kuna account email address and password. If you don't remember your password, click the Forgot Your Password? option to reset your Kuna account password.
After entering your Kuna account email address and password, click NEXT on the top right-hand corner of your screen. You're now signed into your Kuna account!
Step 4 - Pair Your Toucan to Your Account
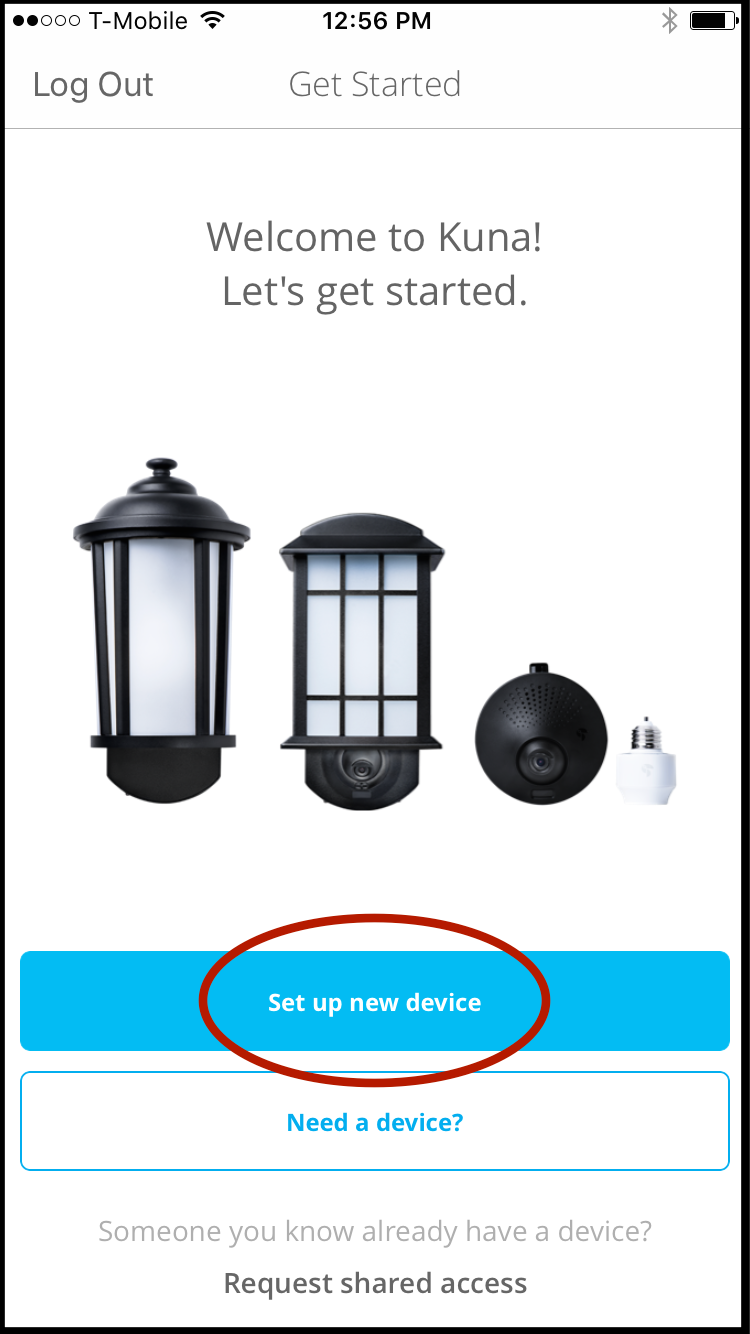
Once you log in to your Kuna account, you will see the Devices tab. If you have not yet paired any devices or if you do not have shared access to any devices, you will see the Welcome screen below. To pair a device from the Welcome screen, click the Add Device button.
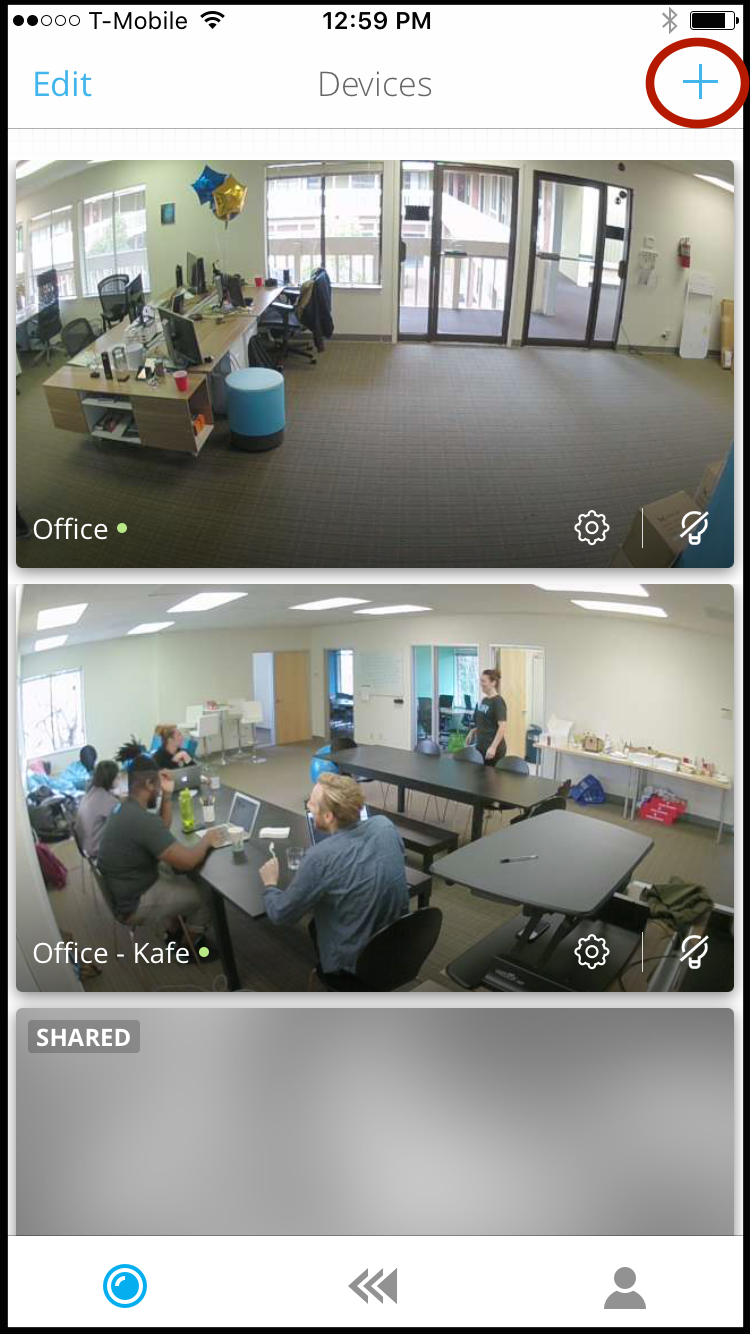
If you already have shared access or a paired device, you will see a thumbnail of all the devices you currently have access to – like the screen shot below. In this case, you'll click the Device Plus button on the top, right-hand side of the screen.
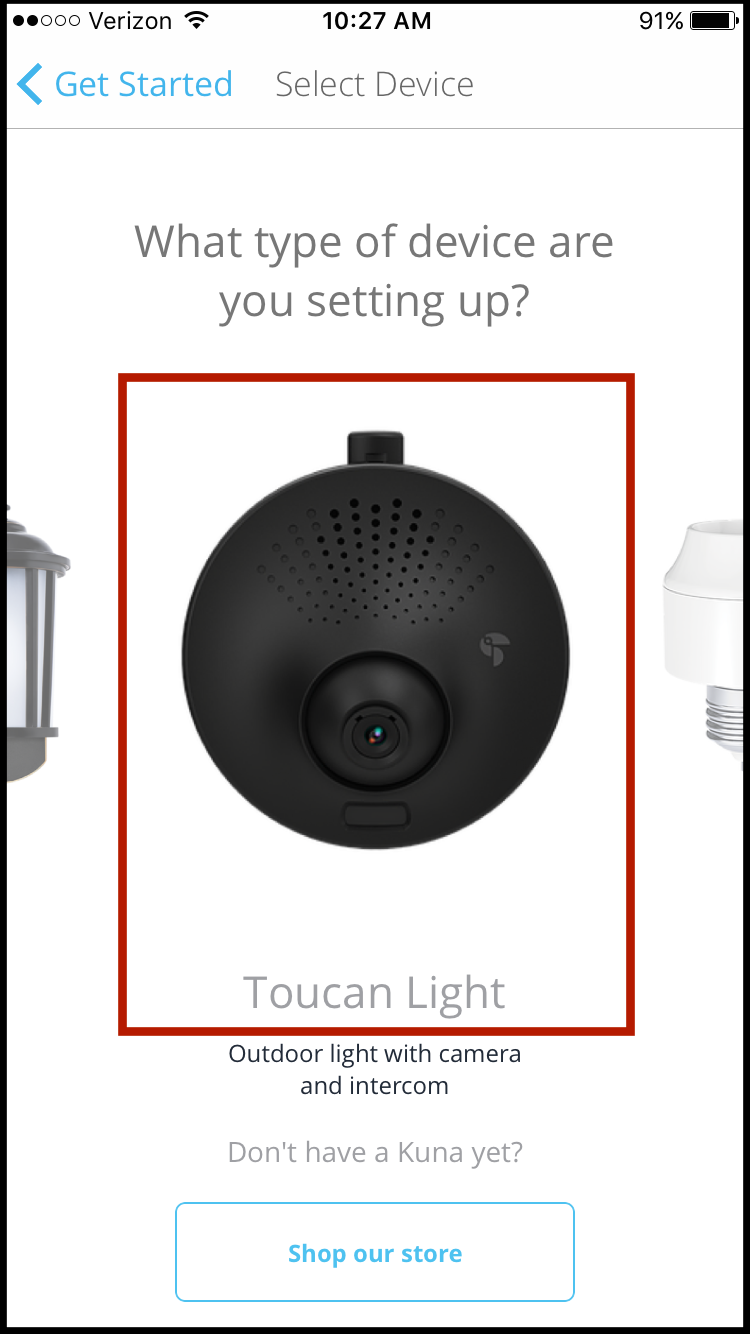
Once you have clicked either the Device Plus button or the Add Device button, you will be prompted to choose the type of device you would like to pair with your account. In this walkthrough, we'll be setting up a Toucan camera, so choose that option by tapping on the picture of the Toucan camera.
To find out more about pairing a Smart Socket, click HERE. For instruction on how to setup a Smart Security Light, click HERE.
You will need to be close to your Toucan camera. We recommend holding your mobile device no more than 5 feet away from your camera during this initial pairing process.
If there are multiple Toucan cameras in the area, like in the screen shot below, the mobile app will tell you which one is the closest. The one that you are pairing should have the strongest signal, so make sure that you're standing close to it. If the app displays multiple Toucan cameras, the one you're setting up should have the strongest signal. Make sure you're standing close to it.
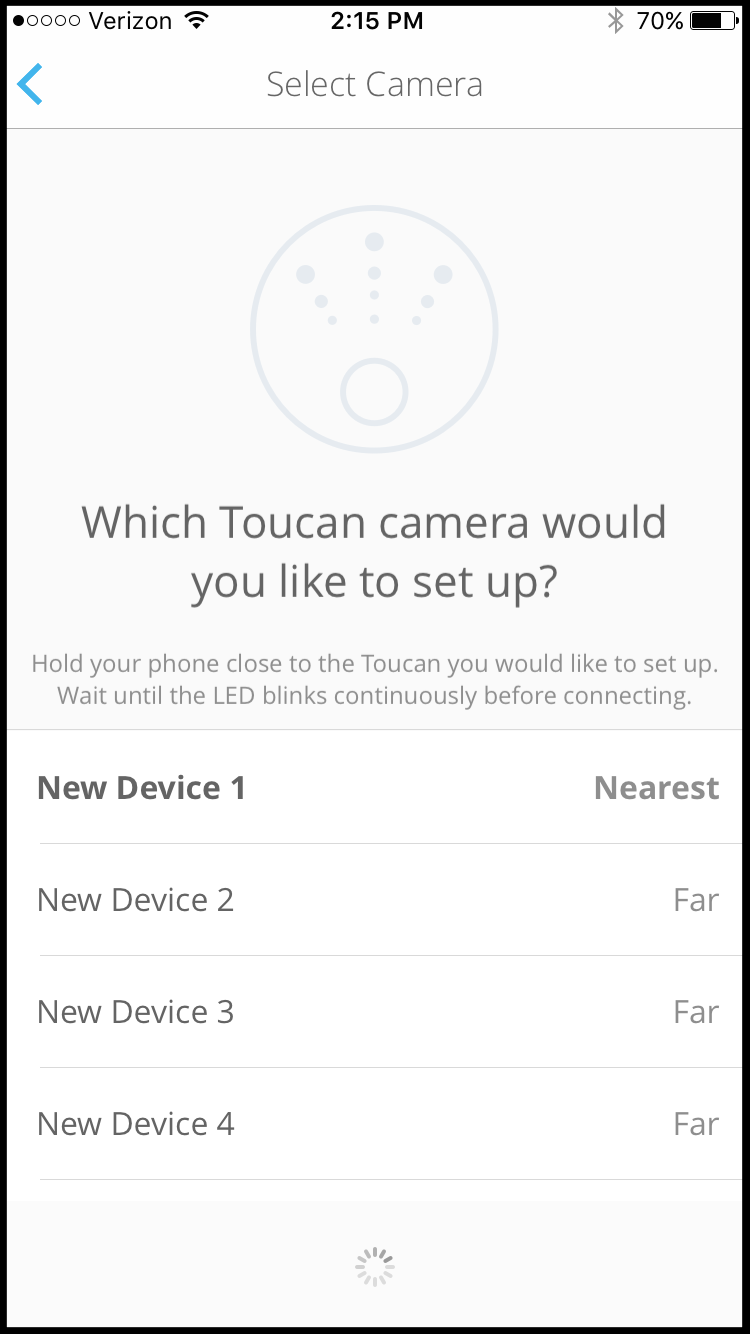
Once you have identified the closest Toucan camera, tap that device's name to continue the setup process. If there is only one device in the area, then you can choose that one. In the screen shot below, we will choose New Device 1.

Please Note: If you are setting up multiple Toucan cameras, you will need to go through this set-up process for each new Toucan camera, starting at Step 4. This allows you to set different locations and Wi-Fi networks for each Toucan, if you wish.
Step 5 - Choose a Name for Your Device
After selecting the Toucan camera that you would like to pair, the mobile app will prompt you to choose a name for this new light. The mobile app automatically suggests a few of the most popular names, but you can also choose a custom name.
In the screen shot below, we will choose the name "Front Door" for our device.

Step 6 - Connect your Toucan to WiFi
Now that you have chosen a name for your Toucan, it's time to connect it to your home's Wi-Fi network. The mobile app displays all of the Wi-Fi networks that it is able to find in the area. Make sure that your home's Wi-Fi network displays at least two bars in the mobile app. If your Wi-Fi network shows less than two bars, or is not displayed in this section, move your wireless router closer to your Toucan camera.
Once you have located your home's Wi-Fi network, tap on the network name to select it and move to the next section. In the screen shot below, we will select the Wi-Fi network "kuna".

Once you have selected the network for your Toucan, click into the WiFi password section and enter your home network's WiFi password. We suggest using the Show Password function, to ensure that your password is entered correctly.

Once your WiFi password is entered correctly, click the Connect button in the top right-hand corner.

Your Toucan will now connect to your home's WiFi network!
Step 7 - Set Your Timezone and Location
Your Toucan will use the timezone to determine sunrise and sunset times for your location. The mobile app will automatically suggest the timezone your mobile device is set to, but you can also select a different timezone. In the screen shot below, we'll choose the timezone "America/Los Angeles".

After you set your timezone, we'll choose the city that your Toucan is setup in. The city information is used for the sunrise and sunset times for your light schedule. The Kuna app uses your approximate location to make your light schedule more accurate. You DO NOT need to provide your full address.

If you have setup any previous devices, the mobile app will suggest a city for you. Otherwise, you can click "Enter new location" to choose a new or different city for your device.
Step 8 - Select a Detection Sound
Your device can play a pre-recorded message when motion is detected, as a way to greet or alert visitors. To use the default Chime sound, select "Yes - Use Defaults".
To change the sound, or turn the sound off, select "No - Change Greetings". Then, select a new sound, or "Off", and tap the arrow in the top lefthand corner to go back to the setup process.
Step 9 - Set Up Your Light Schedule
The mobile app will suggest using the default settings – turning the light on at dusk and off at dawn. If you would like to keep the default settings, click "Yes – Finish Setup". If you would like to change the default settings, click "No – Change light schedule".
To learn more about the light schedule options, click here. You can also change your light schedule at any time after you finish setting up your device.

Once you click "Yes – Finish setup", you're done and ready to start using your new Toucan! If you need to set up any other devices, simply click the "Set up more devices" button.

Below are links to some additional Help Center articles to get you started with your new device:
Adjust the Motion Detection Sensitivity
Set Up Notifications for Individual Cameras
What to Do if Your Device Goes Offline
If you run into any issues, or if you have any additional questions, click the Contact Us button below. We would be happy to help!