BEFORE YOU BEGIN: Please make sure that the power is still off before beginning the doorbell installation. You should have disconnected the power for your doorbell circuit when you installed the chime bypass. If you haven't installed your chime bypass yet, please review the installation article. You can also down extra copy of the doorbell installation manual.
WARNING: Do not attempt to install a DualCam Video Doorbell yourself if you are unfamiliar with electrical systems. Please contact a qualified electrician if you have any questions or need assistance.
Step 1 - Remove Your Existing Doorbell
Remove your existing doorbell and detach it from your home’s wiring.
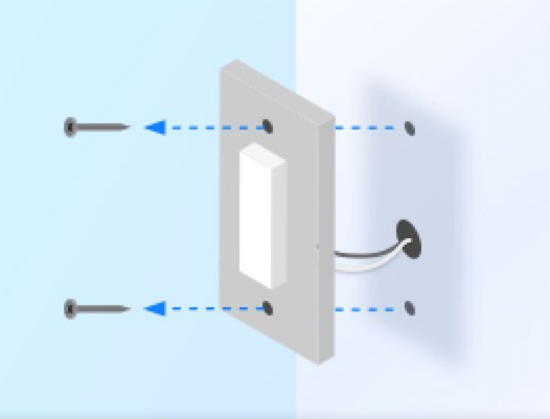
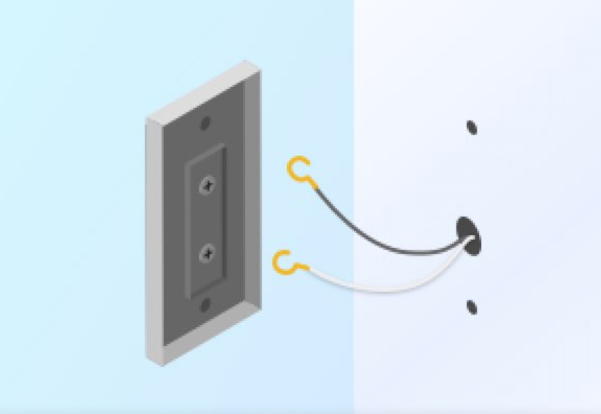
Step 2 - Select Wedge or Backplate
If you would like to use a wedge to change the viewing angle, follow Step 3 and Step 4 using the wedge and wedge gasket (instead of the backplate and backplate gasket). After installing the wedge, use the short screws to attach the backplate to the wedge.
Note: The wedge can be flipped to angle your camera to the left or right. Make sure you install the wedge in the orientation that works best for you
Step 3 - Install the Wedge or Backplate
Hold the backplate (or wedge) up against your wall such that the existing wires go through the large hole and mark the mounting screw areas.
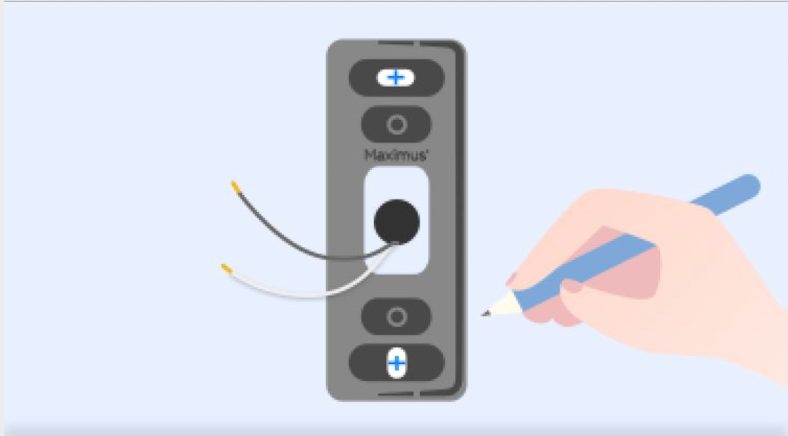
For stucco, brick, or concrete: Drill pilot holes using the supplied drill bit and then push/hammer in the plastic anchors for the screws.
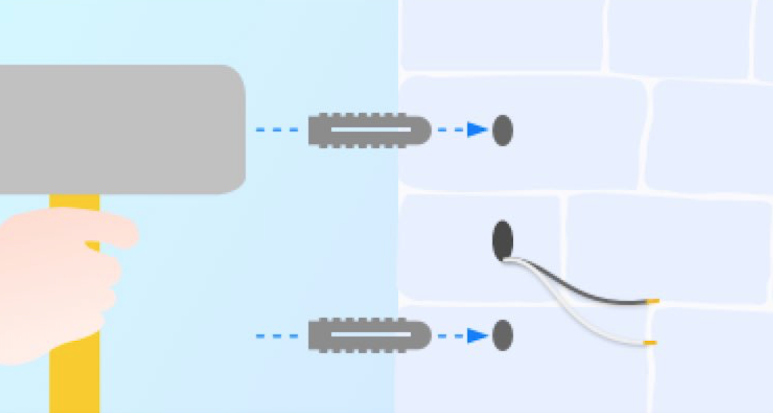
For wood or siding: Install the screws directly. DO NOT use the supplied drill bit (it is meant for anchors). We highly recommend drilling a pilot hole before installing the screws if not using the anchors.

Step 4 - Attach the Gasket
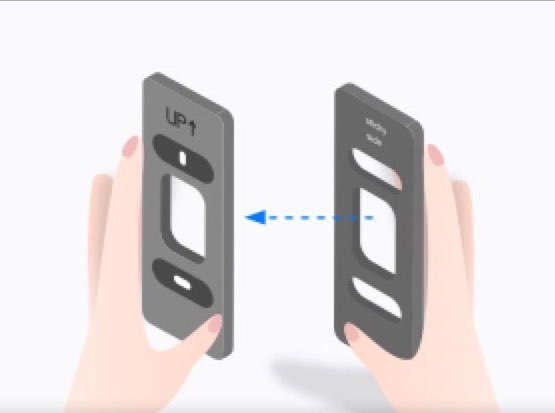
Attach the provided backplate gasket to the backplate. Install the backplate with the 2 wall screws to the location as shown. Note: be sure that the backplate is facing the correct direction with the “Up” label visible and error pointing up.

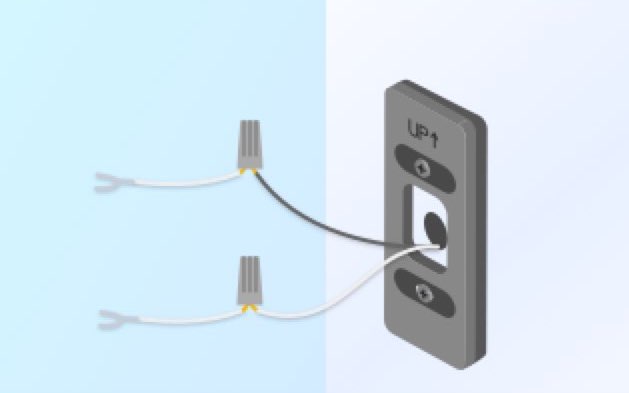
Step 5 - Attach Connector Wires to Doorbell Wiring (Optional)
If your existing doorbell wiring isn't long enough, use the provided wire nuts to attach the connector wires to your existing doorbell wiring. Wire color is interchangeable – it does not matter which way they are connected.
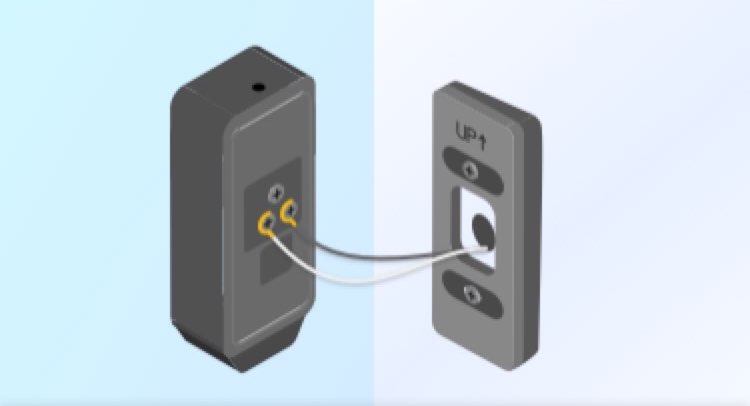
Step 6 - Connect Wire Spades to Screws
Loosen the screws on the back of your doorbell. Connect the connector wire spades (or your existing wires) to the screws on you Answer Doorbell. It doesn’t matter which wire you connect to which screw – just make sure the wires aren’t touching one another and are securely connected.
Step 7 - Mount the Doorbell
Feed the wires and wire nuts back into the wall, then mount the doorbell by sliding the bottom of the doorbell onto the backplate and pushing the top into place. Note: a little upward pressure may be required to attach the doorbell to the backplate.

Use the provided Allen wrench to tighten the preinstalled set screw and secure the doorbell in place through the top screw hole.

Step 8 - Restore Power
Restore power to your doorbell circuit.
Step 9 - Download the Kuna App
If you haven’t already done so, download the free Kuna App from the Apple App Store or Google Play Store. Follow the in-app instructions to set up your doorbell.


