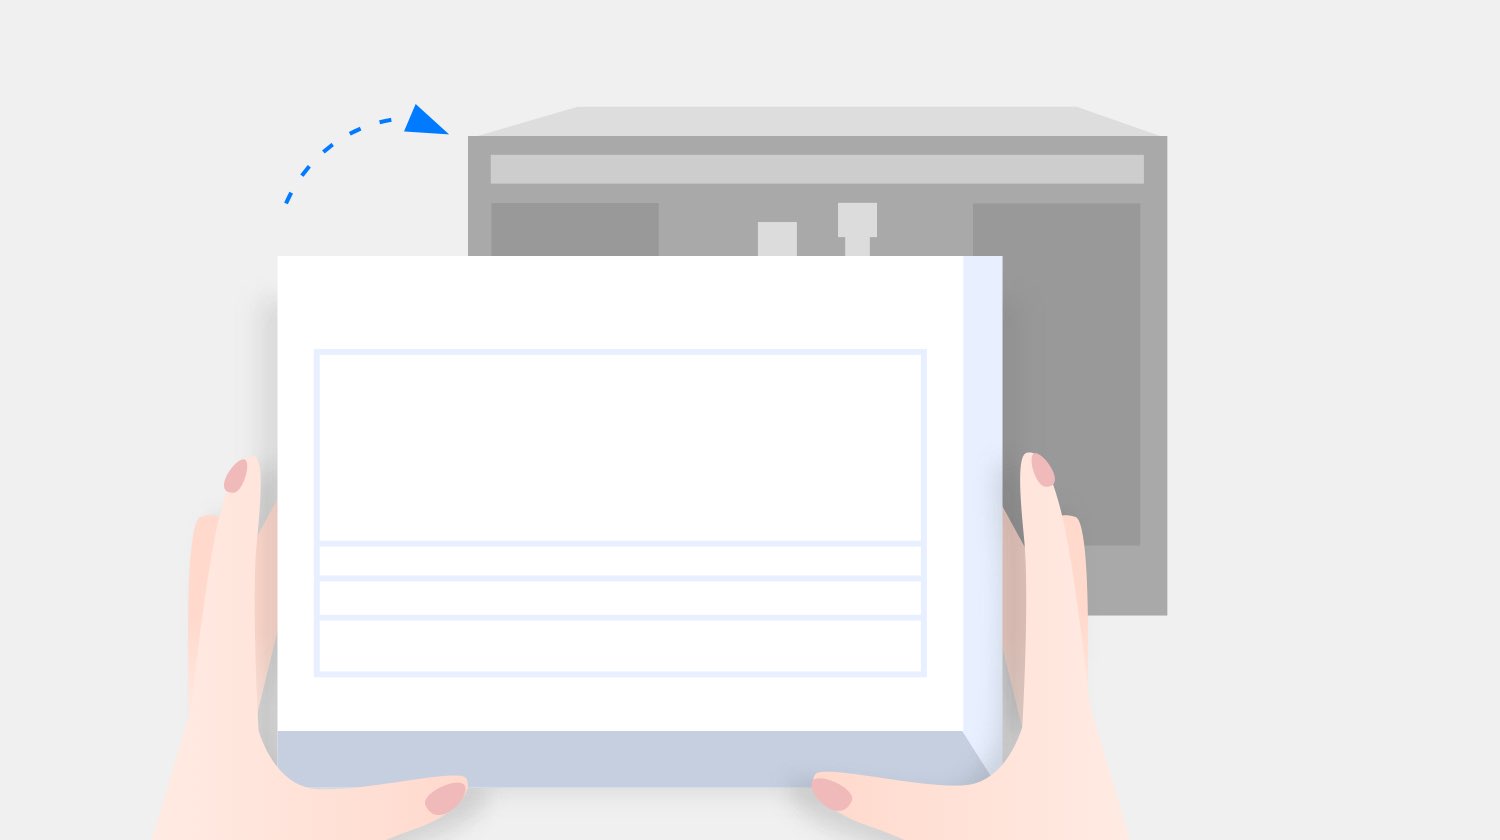
Before you install your doorbell, you'll need to install your chime bypass. To get started, you will also need the adhesive sticker included in the box, and a screwdriver.
WARNING: Do not attempt to install a chime bypass yourself if you are unfamiliar with electrical systems. Please contact a qualified electrician if you have any questions or need assistance.
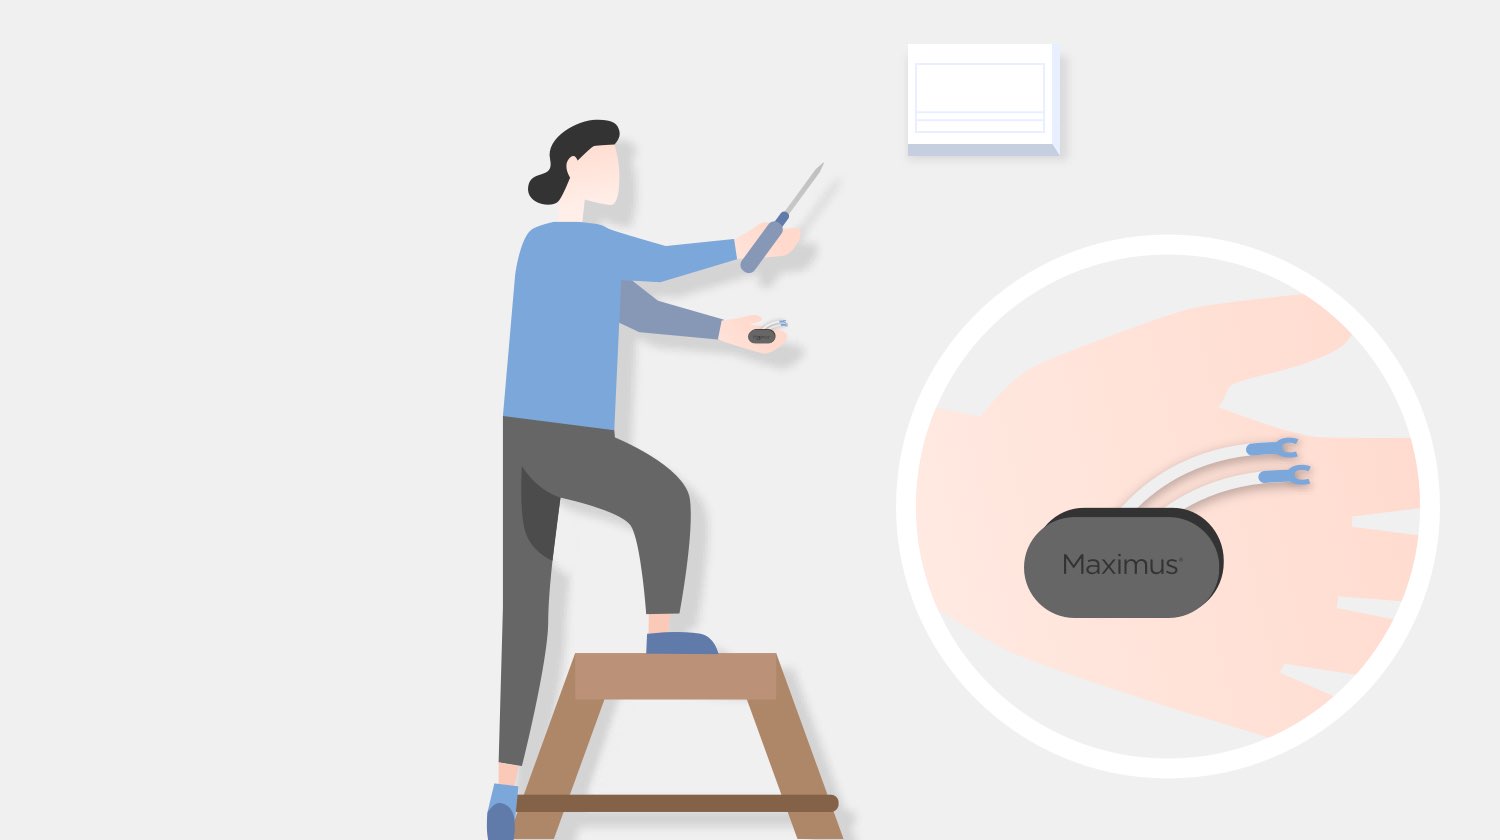
Step 1 - Turn Off Power
Before you start the installation process, turn off the power to your existing doorbell and chime box at your home’s circuit breaker.
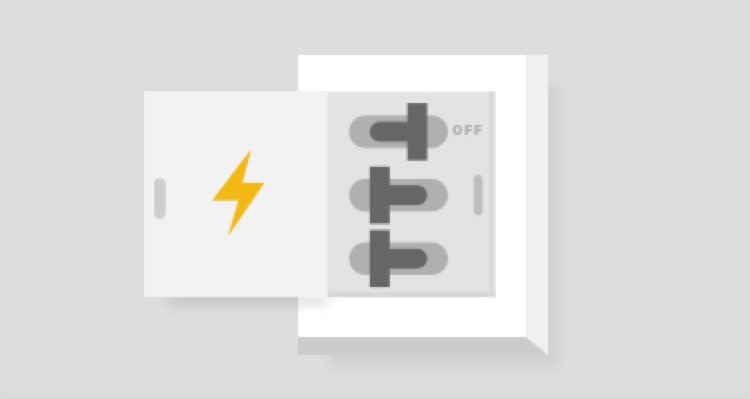
Step 2 - Locate Chime Box
Locate your home’s chime box by ringing your doorbell.
Step 3 - Remove Chime Box Cover
Remove the cover from your home’s chime box by lifting it off or unscrewing it.
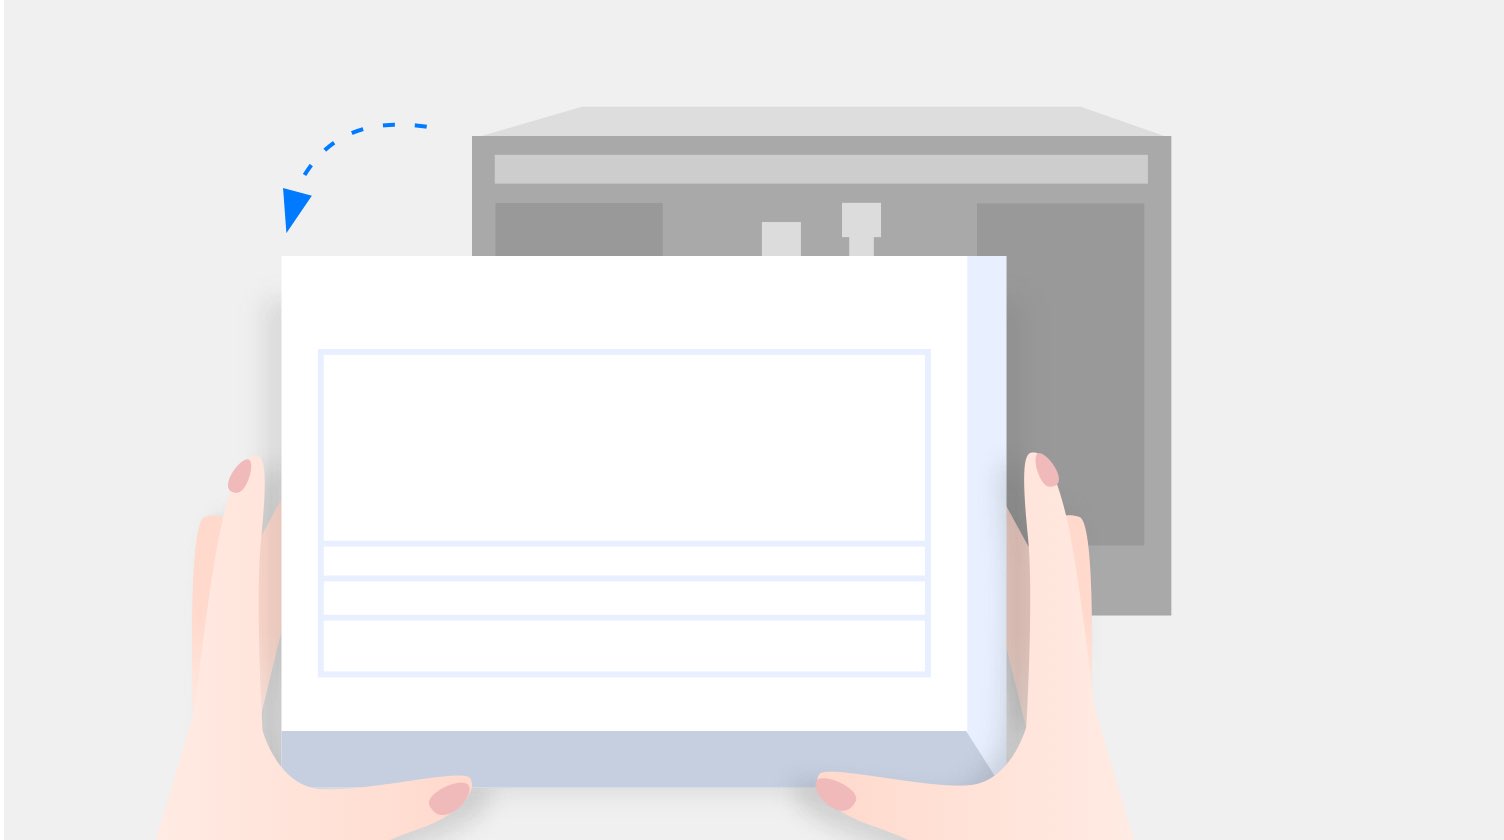
Once the cover is off, take a picture of the wiring. You may need this for reference later.
Step 4 - Connect the Chime Bypass
Loosen the connector screws on the terminals that connect to your doorbell and transformer. Usually, FRONT / TRANS connects to the Front Door and TRANS / REAR connects to the back door.
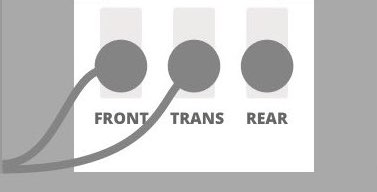
Now, get your chime bypass. Connect the spades to the two terminals. The color and orientation of the bypass wires does not matter.
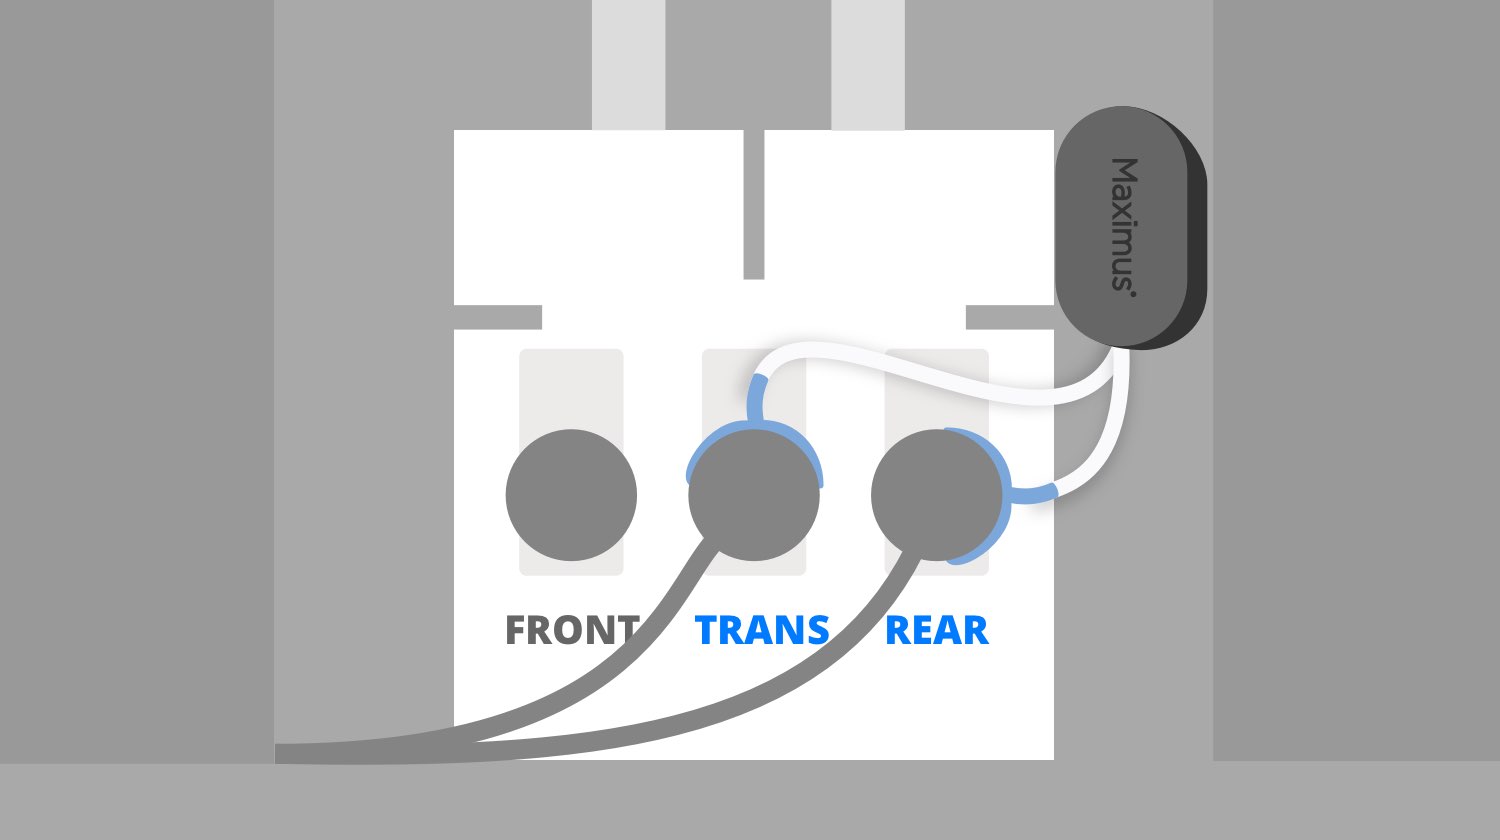
or
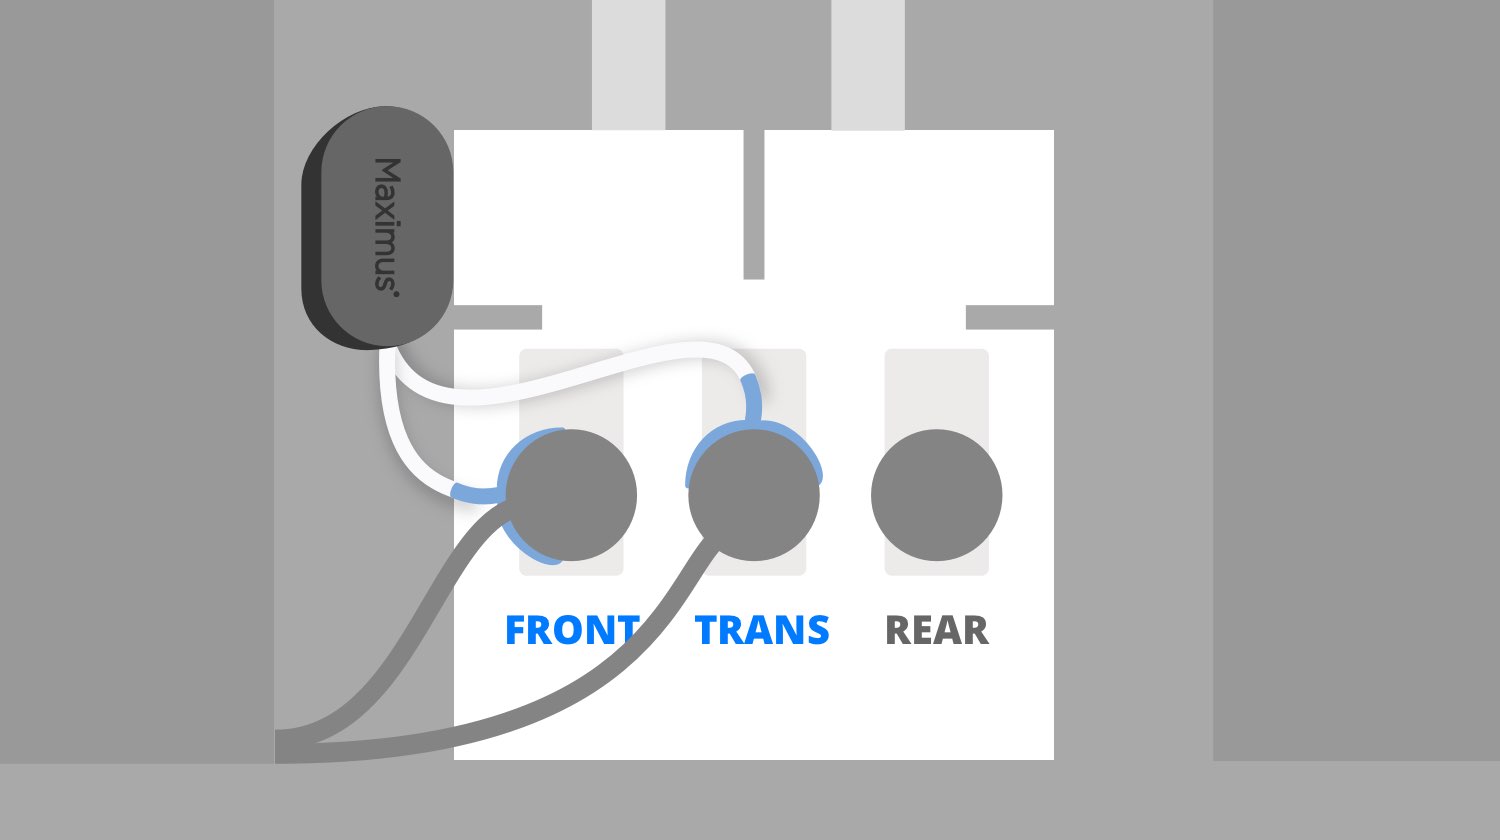
Do not remove the screws or the existing wires. To secure the spades, tighten the screws to the terminals again.
Step 5 - Mount the Chime Bypass
Peel off the backing on one side of the sticker and adhere it to your chime bypass. Then, peel off the backing on the other side to mount the chime bypass. You can put it inside or outside the chime box (wherever it fits best).
Step 6 - Put the Chime Box Cover Back
Put the cover back on your home chime box. You are now ready to install your doorbell!
