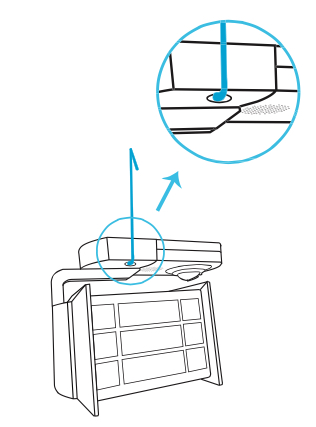
The Maximus Smart Security Light is now called the Kuna Camera Porch Light. Both products use the same installation process.
A complete printed installation guide is included in the product box. You can download extra copies here:
We’ve designed the Camera Porch Light to replace your existing light fixture in a few easy steps. Just take down your old fixture and connect the Camera Porch Light to your existing power wires, then mount the light to your junction box.
WARNING: 120V AC light installation requires knowledge of lighting and electrical systems. Do not attempt to install a Camera Porch Light yourself if you are unfamiliar with outdoor lighting. Please contact a qualified electrician if you have any questions or need assistance.
Step 1 - Disconnect Power and Adjust Bracket
Disconnect power at fuse or circuit breaker before installing the light.
Before installing your Camera Porch Light, make sure that power is turned off at your circuit breaker and at your wall switch, so your current outdoor light is not receiving power. Once you have verified that your current outdoor light is no longer receiving power, it's okay to start the installation process!
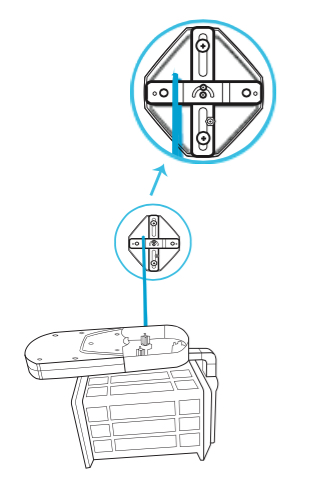
Ensure fixture screws and nuts are inserted into the bracket as shown. Adjust the swivel angle based on your junction box.

Your Camera Porch Light comes with two different screw sizes, so you can mount the bracket pieces parallel or perpendicular, depending on how your junction box is set up.
Step 2 - Fasten Bracket to Junction Box
Tighten middle screws in the bracket so it’s firm and doesn’t wobble.

Fasten bracket to junction box using two junction box screws. Choose short or long pair as needed.
Step 3 - Adjust and Tighten Screws
Use the fixture screws length indicator to adjust the length of the two screws from the wall, then tighten the two nuts.

Step 4 - Suspend Light with Holding Hook
Use the holding hook to suspend the light and free your hands for wiring.
4a. 4b.
4b. 
Connect the bottom of the hook (square) to the right screw pole (4a), then hand the top of the hook (triangle) on the mounting bracket (4b).
Step 5 - Connect the Wires
Use wire nuts to connect Black to Black wires. Insert both wires all the way into the nut and twist until secure. Then repeat for the white wires and for the ground wires.

Wall wire colors may vary.
Recommended: Use a voltage detector to confirm the power is off.
Step 6 - Align Fixture Screws
Holding the light fixture with both hands, align the two fixture-long screws into the light fixture screw posts.

Step 7 - Install Bulb and Reconnect Power
Mount the light fixture to the long screws as shown, then install both decorate nuts. Install a light bulb (maximum 100W). Kuna recommends an A-15 LED or CFL light bulb for best results.

Apply silicone sealant between the wall and light fixture (optional).
Reconnect power at fuse or circuit breaker after installing the light.
Step 8 - Finish Setup with the Kuna App
Once your Kuna is fully installed, you're ready to connect your device to the Kuna app.
- Click here if you're setting up a full Kuna.
- Click here if you're setting up a companion light.
Step 9 - Adjust Camera
Adjust the camera lens angle. Use two fingers to loosen up the locking ring by turning it counter clockwise. Then, lock it up by turning the ring clockwise. Before making final adjustments, check the video feed on your device after downloading the Kuna App and setting up Wi-Fi.


